How to record the screen on Windows 10 or 11
Just like a picture is worth a thousand words, a video is worth a million. In this article, we will show you how to screen record on Windows 10 and Windows 11. Screen recording on Windows is a great way to demonstrate, present, or even teach someone how to use a program or just show off your gameplay process. Screen recording is built into Windows 10 and Windows 11 as part of the Xbox Game Bar tool, and despite its name, you don‘t need to be a gamer to record any other apps. However, Game Bar has some limitations: I can only record one app at a time and not the entire screen. If you need to record more than one app at a time, you need to use OBS or another screen recording method.
Luckily, OBS is a free app and we‘ll show you how to use it as well as the Xbox Game Bar on Windows 10 or Windows 11. If all you need is a still image, just download the ‘crop tool‘ from the Windows Store Xbox Game Bar is part of Windows 11 and Windows 10, and has plenty of useful features, such as CPU and GPU monitoring. However, its ability to screen record on Windows and export to MP4 format is its most useful feature. XBox G ame Bar works just as well in games as it does in other apps like Chrome, but it only works in one app at a time and for some reason, it can‘t capture desktop or File Explorer on Windows. So, you would need to record multiple videos to demonstrate how to perform a task that involves multiple programs, such as programming a web page into a code editor and then viewing it in a browser and then using a video editing program to put them all together. The use of the taskbar will also not be recorded.
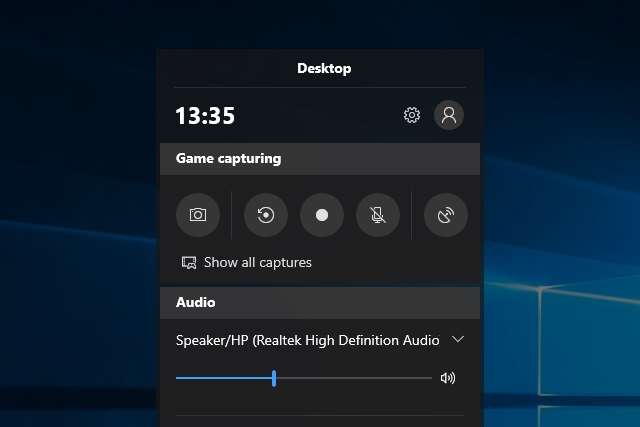
For a complete experience without having to go through the hustle and bustle of recording multiple videos and editing, OBS is the best free tool. Before you do anything, make sure that the recording features on Xbox Gamebar are enabled. See the image below:

Windows settings
Select Gaming from the left hand-side
- Right-click on the Windows Start button and select Settings from the menu.
- Once done, you will see a window as seen here.
- From the list of options on the left side, select Games and use the toggle button to enable the screen recording feature

- Enter the app you want to record
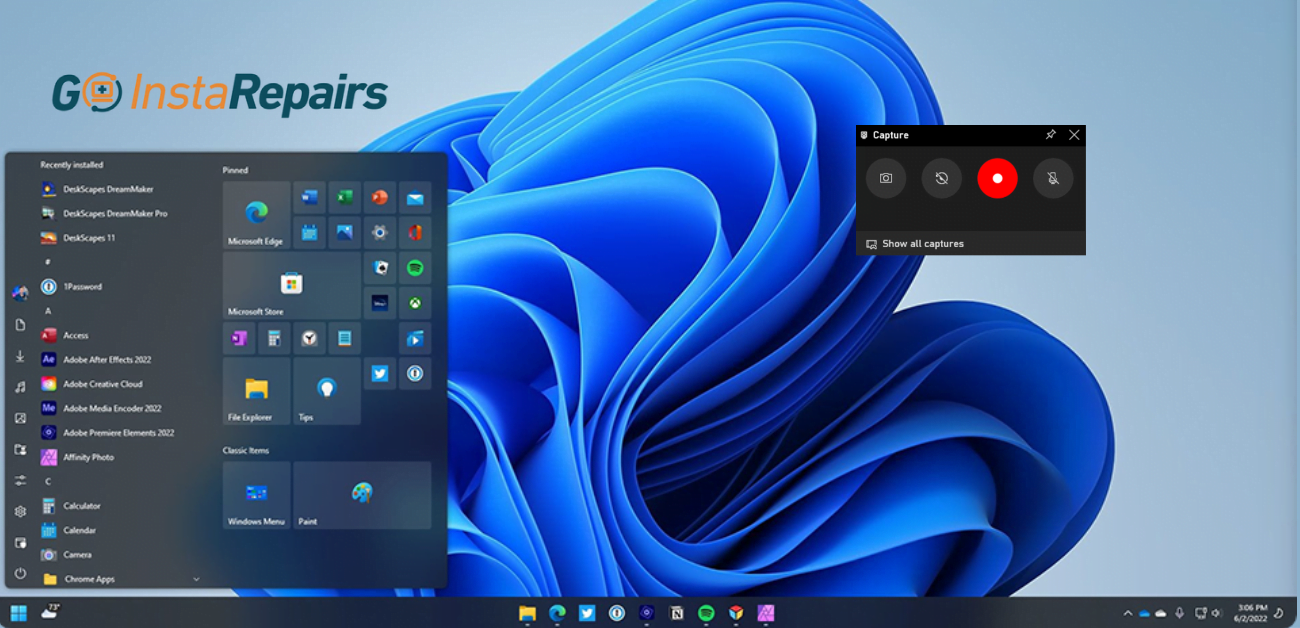
- To start recording, press Windows key and R simultaneously.


The capture widget can also be found by launching Xbox Gamebar with Windows Key + G, but the keyboard shortcut is much simpler. The Recording Toolbar Use your microphone to record audio while doing whatever you want. If you don‘t want to record any sound, you can also mute the microphone. To stop screen recording, press the Windows, Alt and R keys again. You can also press the stop button of the widget, which will display the message “Recorded game clip“. You‘ll be able to preview the video you recorded in the Gallery section of the Gamebar app by clicking on it. The MP4 file you recorded can also be found in your Videos/Captures folder.
We hope this small guide makes things easier for you when you need to record your computer screen.
If you like this post, leave us a comment and share it with your friends and family.
See you next time!


