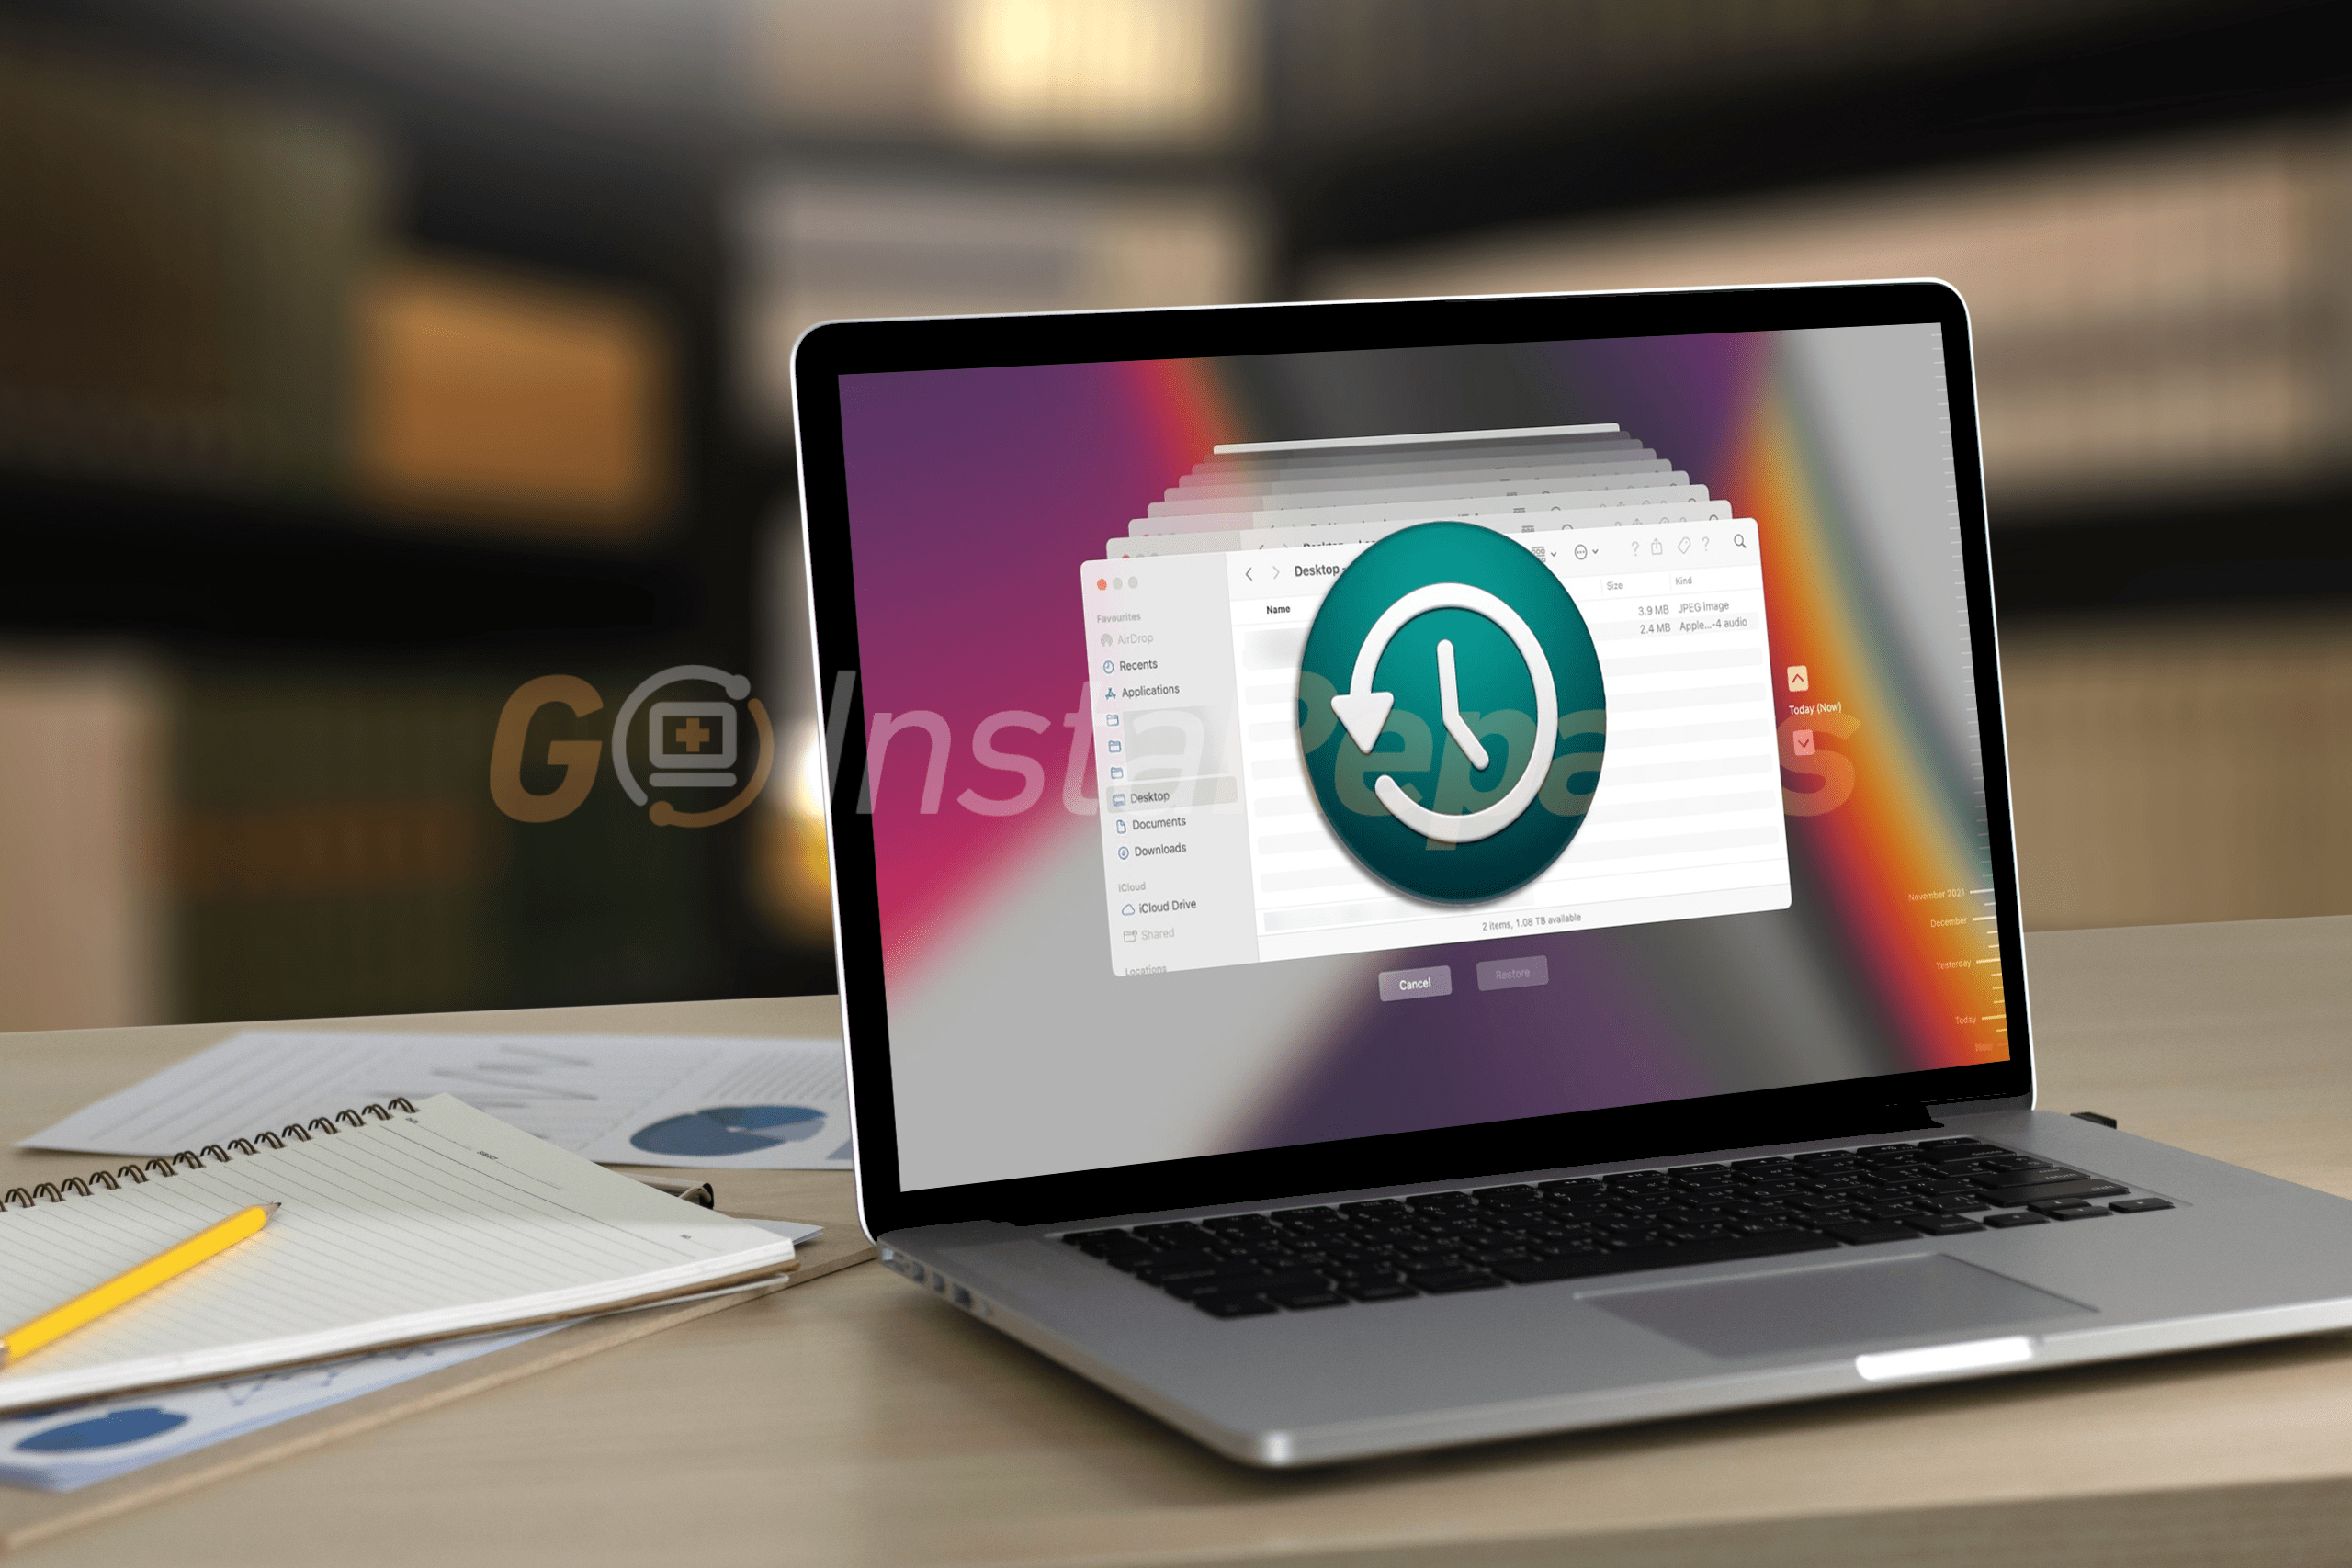
How to Create a Backup and Restore Your Mac Computer with Time Machine in 2024
Backing up your Mac computer is essential to protect your valuable data and ensure that you can recover it in case of any unforeseen events, such as hardware failure or accidental deletion. Fortunately, macOS provides a built-in backup solution called Time Machine, which makes it easy to create backups and restore your Mac. In this guide, we will walk you through the process of setting up Time Machine, creating backups, and restoring your Mac computer.
MAC computers also get infected with malware and viruses.
Learn more
Setting Up Time Machine
Before you can start creating backups, you need to set up Time Machine on your Mac. Here’s how:
- Connect an external hard drive or a network storage device to your Mac.
- Go to the Apple menu and select “System Preferences.”
- Click on “Time Machine.”
- Toggle the switch to turn on Time Machine.
- Click on “Select Backup Disk” and choose the external hard drive or network storage device you connected earlier.
- Optionally, you can encrypt your backups by ticking the checkbox for “Encrypt backups.”
Once you’ve completed these steps, Time Machine will start creating backups of your Mac automatically.
Creating Backups with Time Machine
Time Machine continuously backs up your Mac, capturing all your files, applications, and system settings. Here’s how you can manually create a backup:
- Go to the Apple menu and select “System Preferences.”
- Click on “Time Machine.”
- Click on “Back Up Now.”
Time Machine will start creating a backup of your entire system. Depending on the size of your data and the speed of your external storage device, this process may take some time.
It’s important to note that Time Machine only backs up the files that have changed since the last backup, which means subsequent backups will be faster.
Learn how to, easily, identify all malicious threats, malware and viruses that can harm your Apple Mac computer
List of all malware and viruses that can infect your Mac computer
Restoring Your Mac Using Time Machine
If you ever need to restore your Mac from a Time Machine backup, here’s how you can do it:
- Connect the external hard drive or network storage device containing the Time Machine backup to your Mac.
- Restart your Mac and hold down the “Command” and “R” keys until the Apple logo appears.
- Release the keys when you see the macOS Utilities window.
- Select “Restore from Time Machine Backup” and click “Continue.”
- Choose the Time Machine backup you want to restore from and click “Continue.”
- Select the destination where you want to restore your Mac (usually your Mac’s internal hard drive) and click “Restore.”
Time Machine will then restore your Mac to the selected backup, including all your files, applications, and system settings.
Additional Tips
Here are a few additional tips to help you make the most of Time Machine:
- Keep your external storage device connected to your Mac as often as possible to ensure regular backups.
- Consider using a dedicated external hard drive for Time Machine backups to avoid mixing your backup data with other files.
- Regularly check the status of your backups by clicking on the Time Machine icon in the menu bar and selecting “Enter Time Machine.”
- To exclude specific files or folders from being backed up, go to the Time Machine preferences and click on “Options.”
- You can also use third-party software to automatically create restore points for you, such as Avast Clean-Up, Ccleaner Pro or AVG Tune-Up.
By following these steps and tips, you can easily create backups and restore your Mac computer using Time Machine. Remember, regular backups are crucial for protecting your data and ensuring peace of mind.
If you liked this post, share it with your friends and relatives or leave us a comment below with your thoughts.
See you next time!


